How to Create an Infinite Autoplay Carousel using React, Tailwind CSS and TypeScript
React + Typescript + Tailwind CSS
Introduction
Hey guys, I am David. so in this article, I'll be teaching you how to create an infinite autoplay carousel. I am sure you must have seen it on many websites, mostly on corporate and startup websites, it's normally used to display the organizations that support the company/startup
Quick Demo
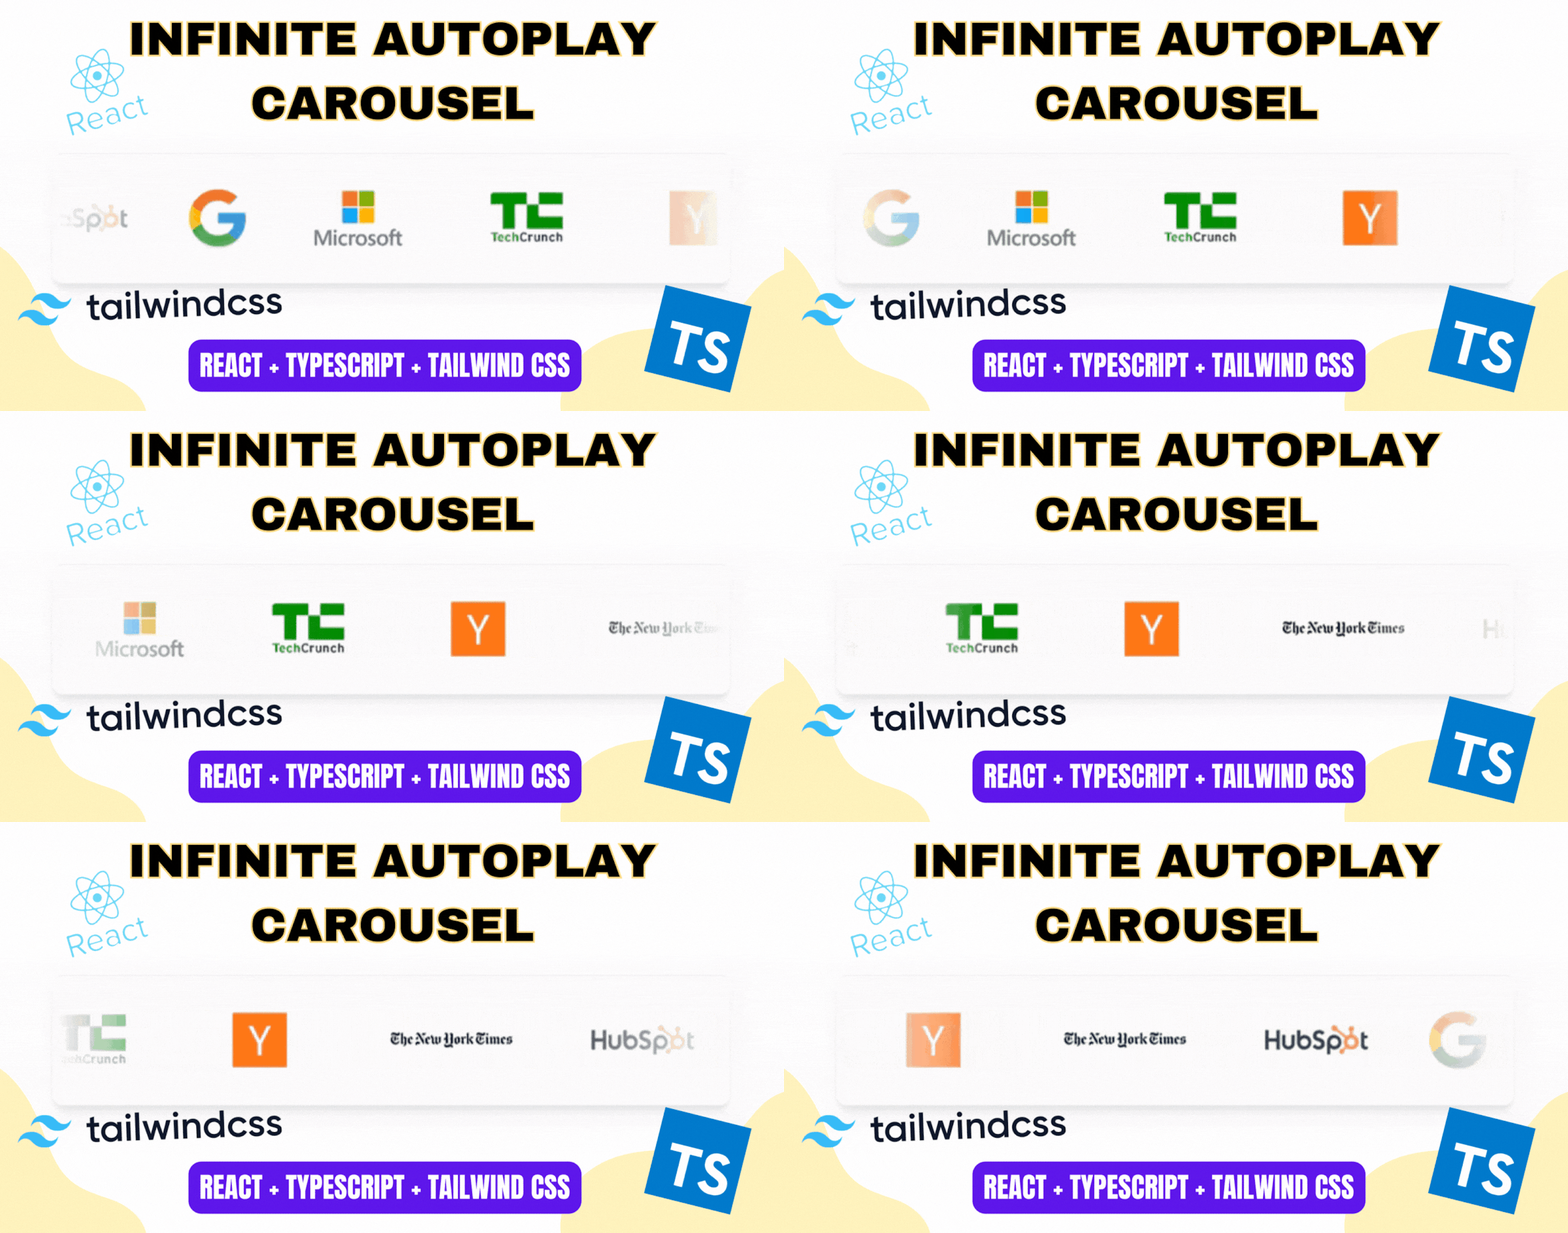
Here's a quick demo of what we'll be building today
Prerequisites
To follow along in this article, you must have a basic knowledge of React.js, TypeScript and Tailwind CSS. if you know them, you can quickly go check them out, I've included a link to the documentation above.
Link to Tailwind CSS documentation
Link to Typescript documentation
But for a brief introduction to them plainly, React is HTML inside Javascript, Typescript is Javascript with types and Tailwind CSS is a shorter form of writing CSS.
so with that out of the way, let's get into the code
The Code
Installation
Let's start by setting up our project so that we can start coding. to set up your project using react, typescript and tailwind CSS, this article here, is a very great resource that'll teach you how to do just that.
once you're done with that, enter your terminal and type
npm install react-fast-marquee
that should install the package we'll be using to build this.
once the package is done installing, in your App.tsx, type this:
import React from 'react'
import Marquee from 'react-fast-marquee'

export default function App() {
  return (
    <>
      <section className="flex h-screen justify-center items-center w-screen">
        <div className=" h-[200px] shadow-lg shadow-slate-400 rounded-2xl w-1/2">
          <Marquee gradient pauseOnHover="true" className=" border-t rounded-2xl border-b py-3 overflow-hidden grid  ">
            <div className=" flex pr-10 flex-col justify-center items-center h-[350px] mx-5 ">
              <img src="./assets/google.png" className="w-20  " alt="" />
            </div>

            <div className=" flex pr-10 flex-col justify-center items-center h-[350px] mx-5 ">
              <img src="./assets/microsoft.png" className="w-40  " alt="" />
            </div>

            <div className=" flex pr-10 flex-col justify-center items-center h-[350px] mx-5 ">
              <img src="./assets/tech_crunch.png" className="w-40 " alt="" />
            </div>

            <div className=" flex pr-10 flex-col justify-center items-center h-[350px] mx-5 ">
              <img src="./assets/yc.png" className="w-40 " alt="" />
            </div>

            <div className=" flex pr-10 flex-col justify-center items-center h-[350px] mx-5 ">
              <img src="./assets/New_York_Times_Logo.png" className="w-56 " alt="" />
            </div>

            <div className=" flex pr-10 flex-col justify-center items-center h-[350px] mx-5 ">
              <img src="./assets/hubspot.png" className="w-40 " alt="" />
            </div>
          </Marquee>
        </div>
      </section>
    </>
  )
}
Don't worry I will properly explain it😂
I imported the necessary packages we needed for this project in the top section
import React from 'react'
import Marquee from 'react-fast-marquee'
I created a card that displays the company logo
 <div className=" flex pr-10 flex-col justify-center items-center h-[350px] mx-5 ">
   <img src="./assets/google.png" className="w-20  " alt="" />
</div>
and I added it all inside the Marqueetag. To better your understanding of it, I advise you to read through the documentation, I've linked it here
Demo Video
this is how the output should be if you followed my steps carefully

Final thoughts...
using this code as a base, you should be able to create more awesome things with just some minor tweaks here and there.
I'll be attaching a link to the code so that any of you guys can come and view it and maybe even add your own changes and adjustments, just have fun with it.
Conclusion
And with that, the article has come to an end. I hope it was helpful and I also hope that you guys really enjoyed reading this.
If you liked it, consider doing you're magic down there so when I write a new article, you'll be the first to know about it.
Until next time, stay coding😁